 ( 091 ) 10-OPct-2014
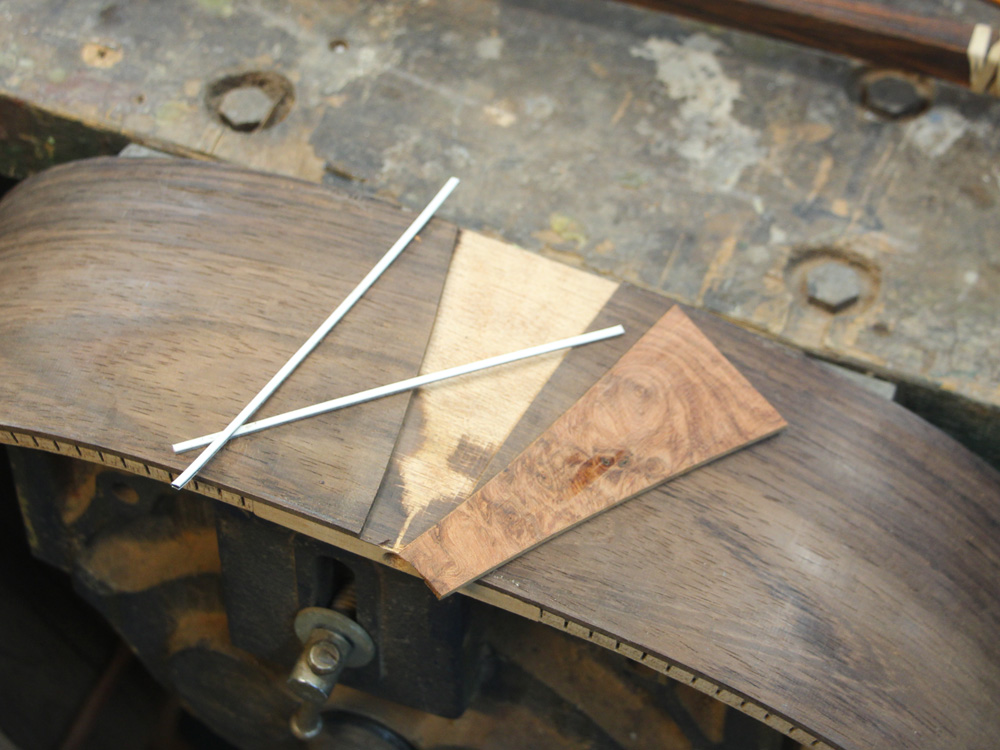
Here I have cut the tail graft plate from a block of Amboyna Burl and laid it out with the pin striping I am going to use.
( 091 ) 10-OPct-2014
Here I have cut the tail graft plate from a block of Amboyna Burl and laid it out with the pin striping I am going to use.
 ( 092 ) 10-OPct-2014
A bit of fine tuning makes the pieces fit perfectly.
 ( 093 ) 10-OPct-2014
And I use a handy caul to glue the pieces into the tail graft channel.
 ( 094 ) 10-OPct-2014
After the glue has set I sand everything flush.
 ( 095 ) 10-OPct-2014
I use a fiducial button on the top plate to help align it to the body when I glue the top in place.
 ( 096 ) 10-OPct-2014
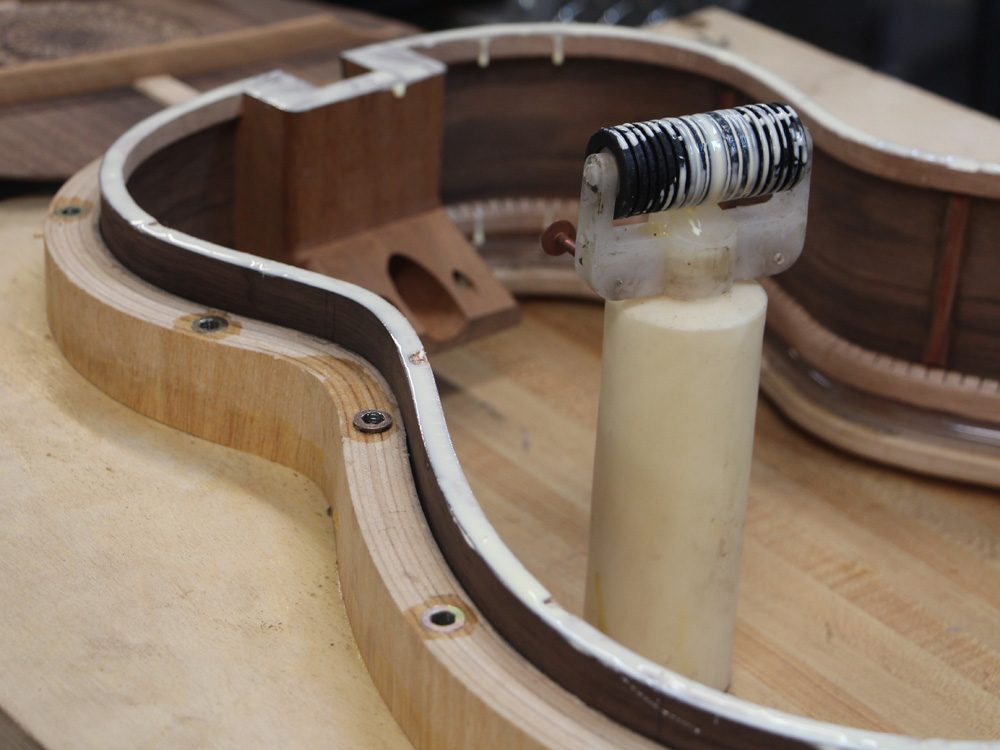
But first I will glue the back on to the rim. A bit of glue goes all around.
 ( 097 ) 10-OPct-2014
And then the back plate is put in place and the flange presses it on to the rim.
 ( 098 ) 10-OPct-2014
I glue the back on first because I can easily clean up the glue squeeze out. The small amount of squeeze out when the top is glued on is more difficult to clean up, but you won't ever see it unless you get inside for repair work.
 ( 099 ) 10-OPct-2014
I used a Jorgensen clamp to press the back onto the heel block.
 ( 100 ) 10-OPct-2014
And after the glue has set I pop it out of the forms.
 ( 101 ) 10-OPct-2014
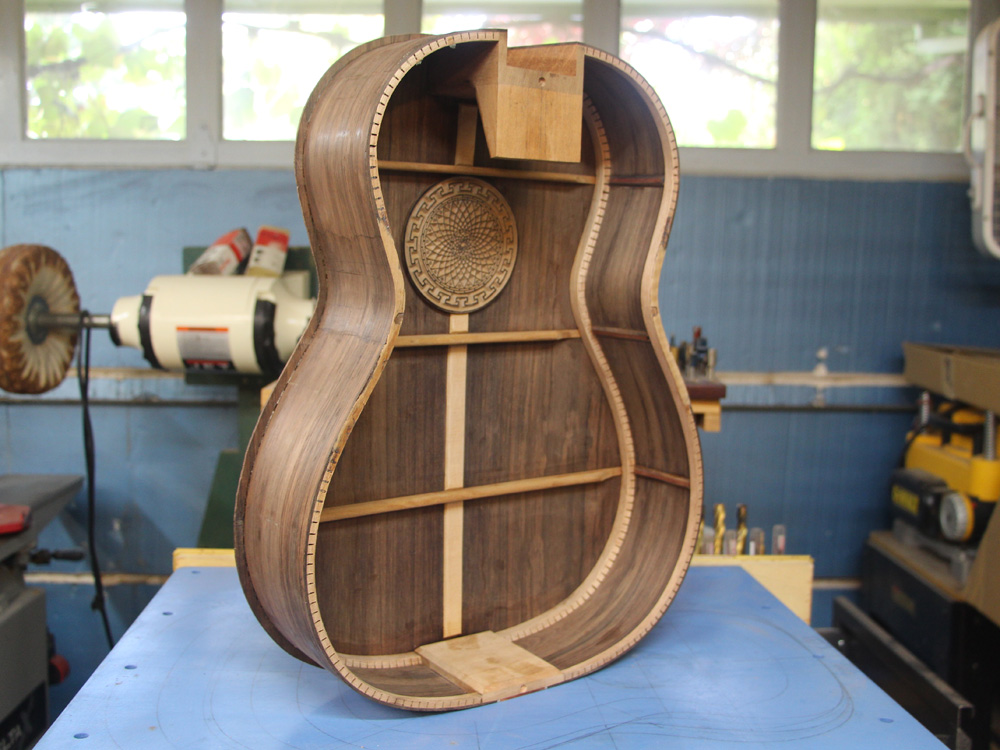
Before I glue the top on I go over the inside one more time to make it look pretty.
 ( 102 ) 10-OPct-2014
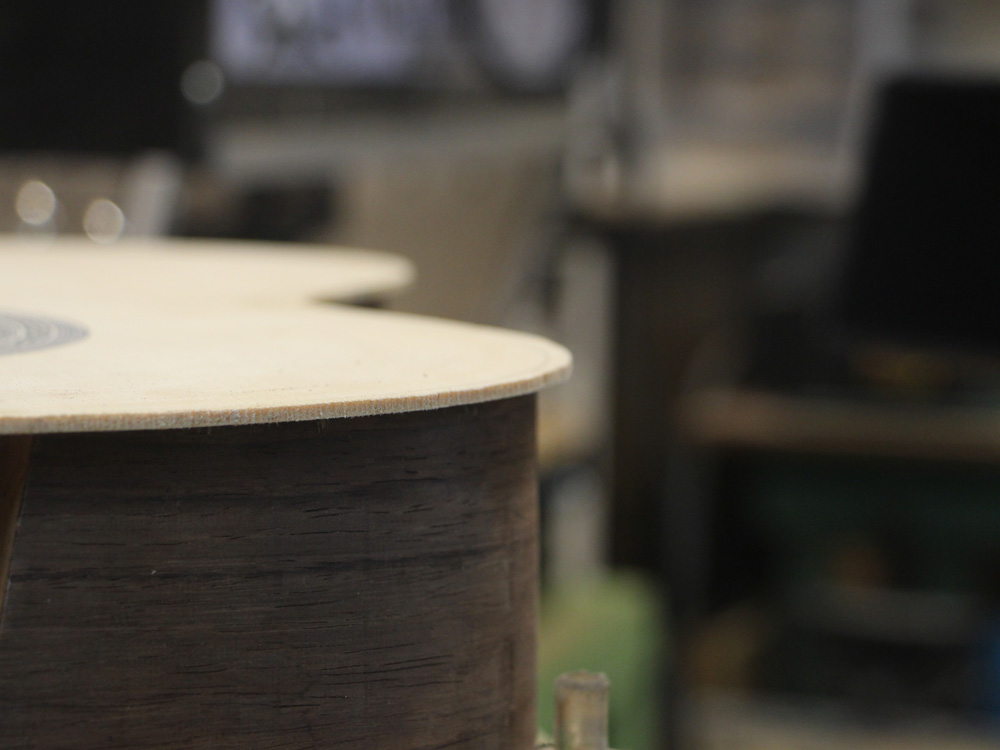
I leave a 1/8th inch over hang until the back is glue on. I would rather have the back too big rather than too small... it is really hard to put wood back, but its is pretty easy to take it away.
 ( 103 ) 10-OPct-2014
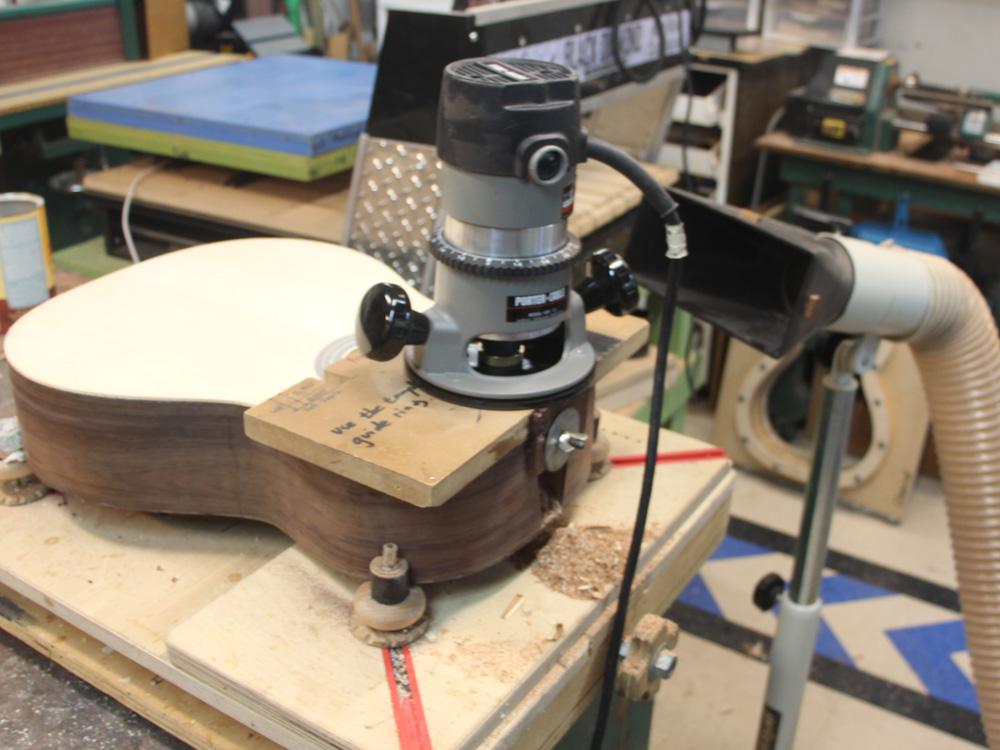
To clean up the overhang I use a hand router.
 ( 104 ) 10-OPct-2014
And before I glue the top on on I drill the holes for the attachment/adjustment hardware.
 ( 105 ) 10-OPct-2014
The hole in the middle of the top row will have a bolt that firmly holds the neck in place. The two inserts at the top will have set screws that act as the fulcrum for the tilt action neck and allow me to adjust the yaw of the neck so the strings run down the center of the fretboard. The insert at the bottom accepts a bolt housed in the heel of the neck and lets you adjust the angle of the neck relative to the body, thereby raising or lowering the action of the strings. The heel of the neck will slip into the channel and be framed by binding.
 ( 106 ) 10-OPct-2014
Before the top gets glued on the back of the top gets a bit of finish sanding... it helps the notes get out easier.
 ( 107 ) 10-OPct-2014
After a bead of glue goes on the top edge of the rim the top gets placed.
 ( 108 ) 10-OPct-2014
And then the flange presses it home.
 ( 109 ) 10-OPct-2014
Once again I errored on the side of too big.
 ( 110 ) 10-OPct-2014
After the lip gets routed off. The top has two small lips that overhang the the heel channel. I call these lips "hidy wings" because they will hide the space between the neck and the body. My objective is to make the neck attachment scheme mostly invisible.
 ( 111 ) 10-OPct-2014
I use a special template to help me route a channel for the Fretboard Cantilever Support Plate. I create a support plate under the portion of the fretboard that floats over the body to ensure it will remain stable. The plate is 1/4 inch thick and so needs to have some space made for it in the top.
 ( 112 ) 10-OPct-2014
A bit of router work.
 ( 113 ) 10-OPct-2014
And here you see all of the bits necessary for my neck/adjustment scheme.
 ( 114 ) 10-OPct-2014
The rosette and contra-rosette.
 ( 115 ) 10-OPct-2014
And the body of the guitar.